Falafel
Falafel
The crisp and crunchy exterior and the soft, moist, and ooh, so flavorful inside…now, that can mean only one thing – Felafel!
The staple dish of the Middle East is as contested as the region, with different peoples claiming it as their own.
The origin of falafel is controversial. The dish most likely originated in Egypt, possibly influenced by similar Indian dishes. Some have suggested that it dates back to ancient times, though this is
almost certainly incorrect. There are no references to anything
resembling falafel in pharaonic texts; in any case, the vegetable oil in
which falafel is fried was then too expensive to be used to cook such a
simple dish.
In all probability, falafel is comparatively modern. As Paul Balta and Farouk Mardam Bey have shown, falafel only appears in Egyptian literature after the British occupation in 1882. Why this should have been the case is unclear; but Balta and Mardam Bey have speculated that British officers, having acquired a taste for fried vegetable croquettes in India, may have asked their Egyptian cooks to prepare a version using local ingredients. There is no proof of this; but it is not implausible. There were plenty of Indian dishes which were made in a similar way (e.g. vada and bonda), which could have provided the necessary inspiration. Perhaps the most intriguing candidate has recently been suggested by historian Shaul Stampfer. In the late 19th century, the Jews of Kerala and Calcutta often made fried balls of split green peas known as parippu vada or fulori, which, as Stampfer has observed, were ‘strikingly similar to falafel’.
Having conquered Egypt, it began to migrate, though the exact trajectory is difficult to reconstruct. But shortly after the First World War, it had reached what is now Lebanon and, in 1933, Mustafa Sahyoun opened his falafel shop in Beirut. At about the same time, falafel travelled down the Red Sea coast towards Yemen, north along the Mediterranean to Turkey and west towards Libya. All those who adopted it made it their own. Though they generally left the basic recipe unchanged, they altered the ingredients slightly to suit their own tastes or to reflect the balance of local agriculture.
Even more strikingly, falafel also made it to the United States. There, its progress was slow. Throughout the 1960s and 1970s, it remained the preserve of migrant communities. But in the last decades of the 20th century, it began to be appreciated by a wider audience. This was, at first, marked by a rather ‘orientalising’ approach. For many consumers, falafel remained something exotic and strange. But, with time, as cultures mixed and social divisions disappeared, these associations were overcome. Now, it has become so much a mainstay of American cuisine that it is hard to think of a time when it was anything other.
I was introduced to this awesome dish when I came to Chicago. Every weekend, our group of friends used to go out and had lunch of one person's choice turn by turn. Ash took us one day to a Middle Eastern Restaurant. Being a vegetarian, I was wondering "what would I get here?" And voila..there was falafel and Baba Ganoush with which I immediately fell in love!
Falafel is served with Baba Ganoush, Tahini sauce and cucumber and red cabbage salad and Pita bread.
Felafels are very versatile and can be had as appetizers, snacks or mains. They are a great vegetarian option for fillings in pita pockets. Added bonus is that they are protein-packed and gluten-free! Enjoy another lip-smacking look into the Middle Eastern Cuisine.
- Chickpeas/Garbanzo Beans – 1 cup (approx 200gm)
- Garlic Cloves – 5-6 or to taste
- Onion – 1 large (Indian standard) or 1/2 large (USA size), roughly chopped
- Mint Leaves – 1/2 cup packed, leaves picked
- Flat Parsley – 1/2 cup packed, roughly chopped
- Cilantro/Coriander Leaves – 1/2 cup packed, roughly chopped
- Ground Black Pepper – 1 tsp or to taste
- Cumin Powder – 1 tsp
- Lemon Juice – 2-3 tbsp or to taste
- Olive Oil – 1 tbsp
- Baking Soda – 1 tsp
- Salt – Coriander Powder – 1/2 tsp1/2 tsp or to taste
- Green Chilli – to taste (optional)
- Harissa – 1/2 tbsp – or to taste (optional)
- Coriander Powder – 1/2 tsp
- Oil – for pan shallow frying
Procedure:
1. Wash well and the Garbanzo Beans in fresh water overnight or a minimum of 8 hours.
2. Once ready to prep, rinse the Garbanzo beans once again, drain, and put them in a Food Processor.
3. Process till it becomes a bread crumb consistency.
4. Pour out into a bowl and keep aside.
5. In the Food Processor, drop in the Garlic, Green Chilli, and the Onions. Food process a couple of whirls.
6. Add in the Herbs – Mint, Parsley & Cilantro.
7. Process till it is all breaks down to the same size as the Garbanzo Beans.
8. Pour out and combine well with the Garbanzo Beans.
9. Add in Salt, Pepper, Cumin Powder, Coriander Powder, Lemon Juice, Olive Oil and Baking Soda.
10. Mix well. Cover and keep in the refrigerator for 15-20 min. to allow the flavors to combine.
11. Meanwhile, heat Oil in a flat skillet on medium heat.
12. Once hot, make patties/balls of the mixture with your hands.
13. Drop into hot Oil and allow it to cook. Once done, turn and cook on the other side.
14. Remove and place on a paper towel and serve hot.
15. Serve with Pita Bread, Hummus, Tahini Sauce.
1. Add Salt and Baking Powder right before frying.
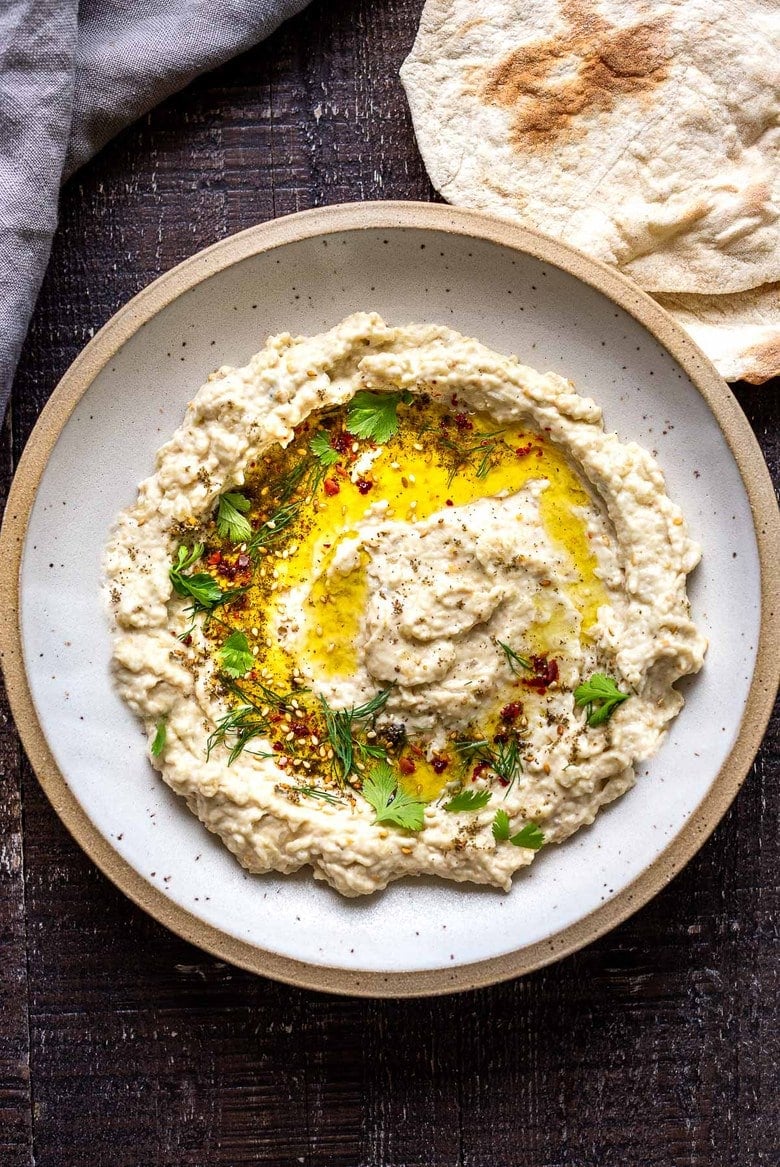
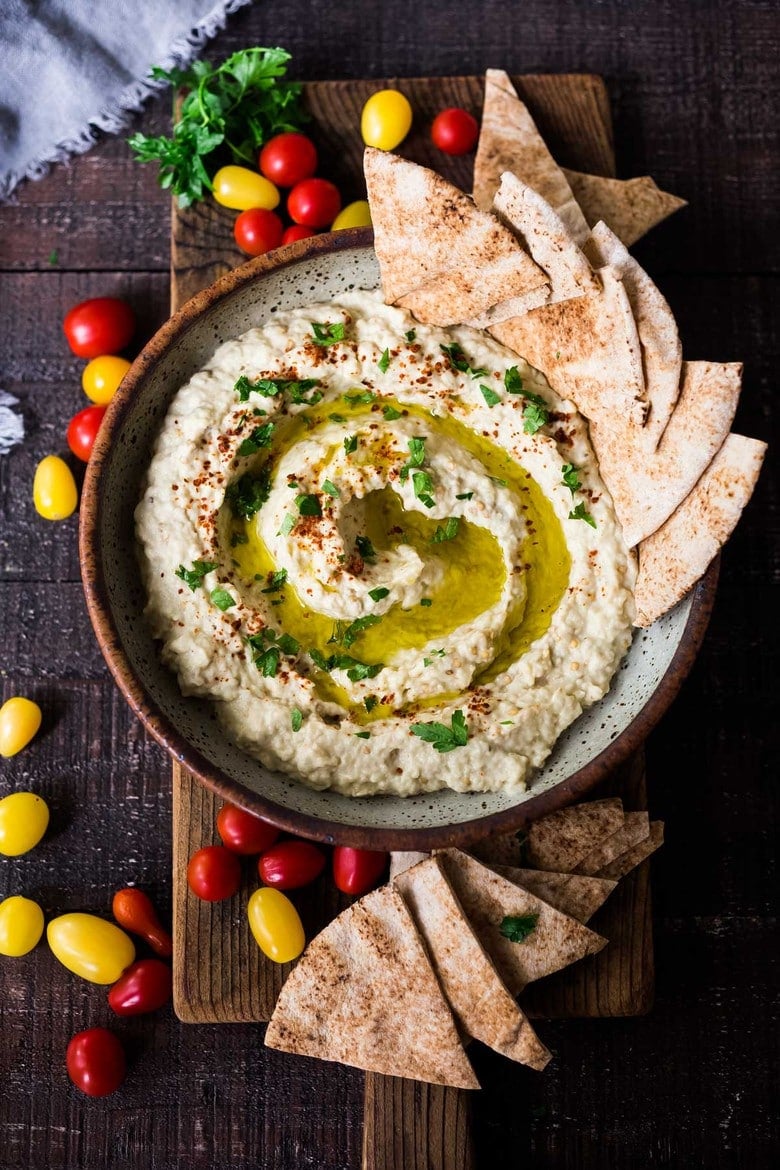
Baba Ganoush
Learn the secret to making the BEST Baba Ganoush! Made with only FIVE simple ingredients this authentic Middle Eastern Eggplant Dip can be made on the grill, or baked in the oven. Full of flavor, complexity and depth, Baba Ganoush is vegan, healthy, gluten-free, low-carb and keto!

Made in the traditional way, eggplant is typically charred in ash, grilled over a wood fire, or baked in a wood-burning oven- and that is why it tastes sooooooo good! That subtle smoky flavor gets infused with the eggplant, creating nothing short of divine.I roast eggplant on gas flame as we do for our own desi baingan bharta.
Ingredients:
Ingredients
- 2 large eggplants ( 1.5 to 1.75 lbs each)
- 2 garlic cloves, finely minced (use a garlic press)
- 4 tablespoons tahini paste
- 1 tablespoon lemon juice
- 1 teaspoon salt
- 2 tablespoons plain full-fat yogurt
Procedure:
Grill Method:
- Preheat grill to medium-high or oven to 425 F
- Make a foil packet with wood chips for smoking. Wrap ½ cup of wood chips (mesquite, alder, apple) in heavy-duty foil and pierce the top, creating an opening in the foil so smoke can escape. Place this on the grill. See photos.
- With a sharp pairing knife cut 1-2 inch deep slits into the eggplant, all over especially around the bigger bottom area. This will allow them to cook more evenly, and help the smoke penetrate the eggplant.
- When the foil packet is smoking, place the eggplant directly on the grill, and close the grill. Turn eggplant every 10 minutes or so and let the skin char. Grill until eggplant has collapsed and feels tender on the inside. This will take about 20 minutes.
- Place the eggplant along with the smoking foil packet in a large bowl or large pan and cover tightly with foil. Let sit until cool enough to handle about 20 minutes.
- Save ALL the smoky liquid that is under the eggplant in the bowl. Peel the charred skin off the eggplant and using a knife, chop up the tender flesh. Place the eggplant in a strainer and strain the eggplant flesh for 10 minutes. Discard this liquid. (I know this may seem counter-intuitive – but you will be adding some of the “smoky” liquid from the first bowl back in.)
- Place the drained eggplant in a mixing bowl. You should have 2 cups (or 2 1/4 cups) of eggplant flesh. If you have less, see notes.
- Add the tahini paste, garlic, lemon, salt and 1-2 tablespoons (or more to taste) of the smoky liquid reserved from the bowl.
- Mix, taste, adjust salt, lemon.For a delicious richness, add 2-3 tablespoons plain yogurt (optional). Stir with a fork until relatively smooth. Refrigerate until serving.


Comments
Post a Comment